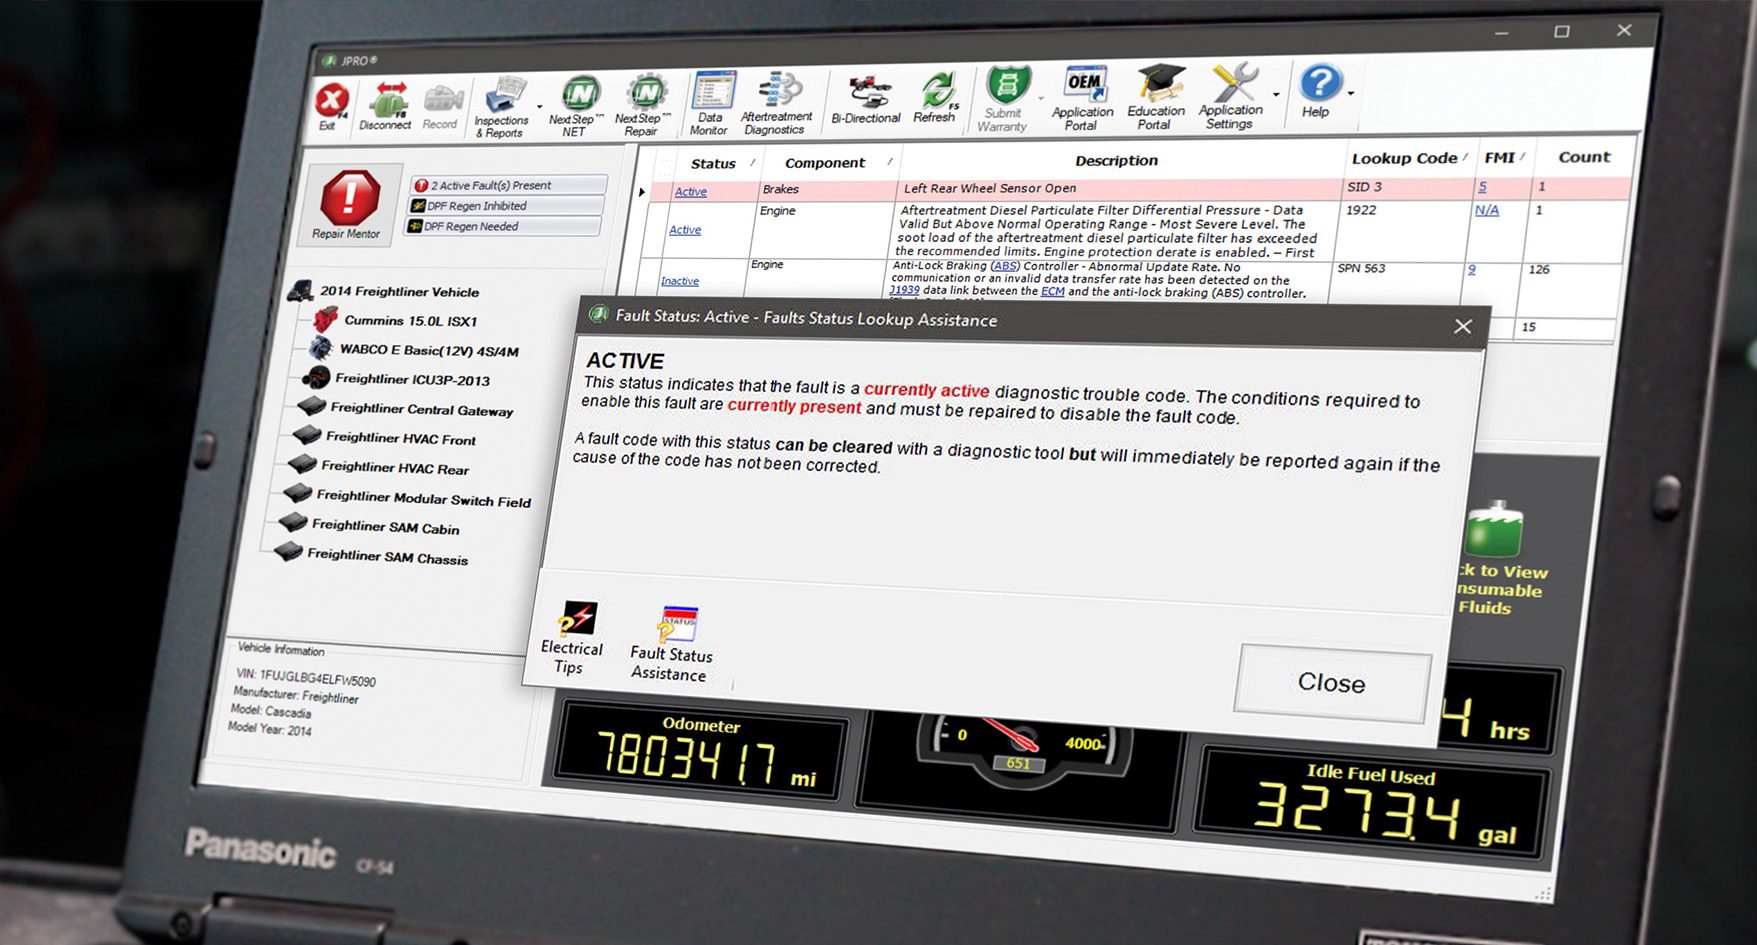
Clearing fault codes from equipment or vehicles depends on the specific make, model and available diagnostic tools. Typically, a diagnostic scanner is required to read and clear fault codes. Here’s a step-by-step guide to clearing fault codes using a diagnostic scanner:
- Locate the diagnostic port: Locate the diagnostic port, usually under the dashboard near the steering column or in the engine compartment.
- Connect the diagnostic scanner: Connect the diagnostic scanner to the diagnostic port. Make sure you have the correct connectors or adapters if required.
- Switch on the ignition: Turn the ignition key to the “ON” position, which provides power to the diagnostic system and allows communication between the scanner and the vehicle computer.
- Read the fault codes: Follow the scanner’s instructions to read the fault codes stored in the vehicle’s computer. Make a note of any fault codes displayed.
- Clear the fault codes: Use the scanner’s ‘Erase’ or ‘Clear’ function to reset the vehicle’s computer and remove the stored fault codes. Refer to the scanner’s specific steps or procedures for your make and model if necessary.
- Switch off the ignition and disconnect the scanner: After clearing the fault codes, turn off the ignition and disconnect the diagnostic scanner from the diagnostic port.
- Test drive or operate the equipment: Operate the equipment or vehicle to check that the problem has been rectified. If the fault codes reappear, further diagnosis and repair may be required.
It’s important to note that clearing fault codes without addressing the underlying problem may only provide a temporary solution as the codes may return. Therefore, it’s important to diagnose and repair the root cause of the fault codes for a long-term solution. If you’re not familiar with diagnosing and repairing equipment or vehicles, we recommend that you seek the assistance of a professional technician.
