I am in no way responsible for any damage or injury caused by these modifications. WORK AT YOUR OWN RISK!!!!
How to install a carbon fibre dash kit
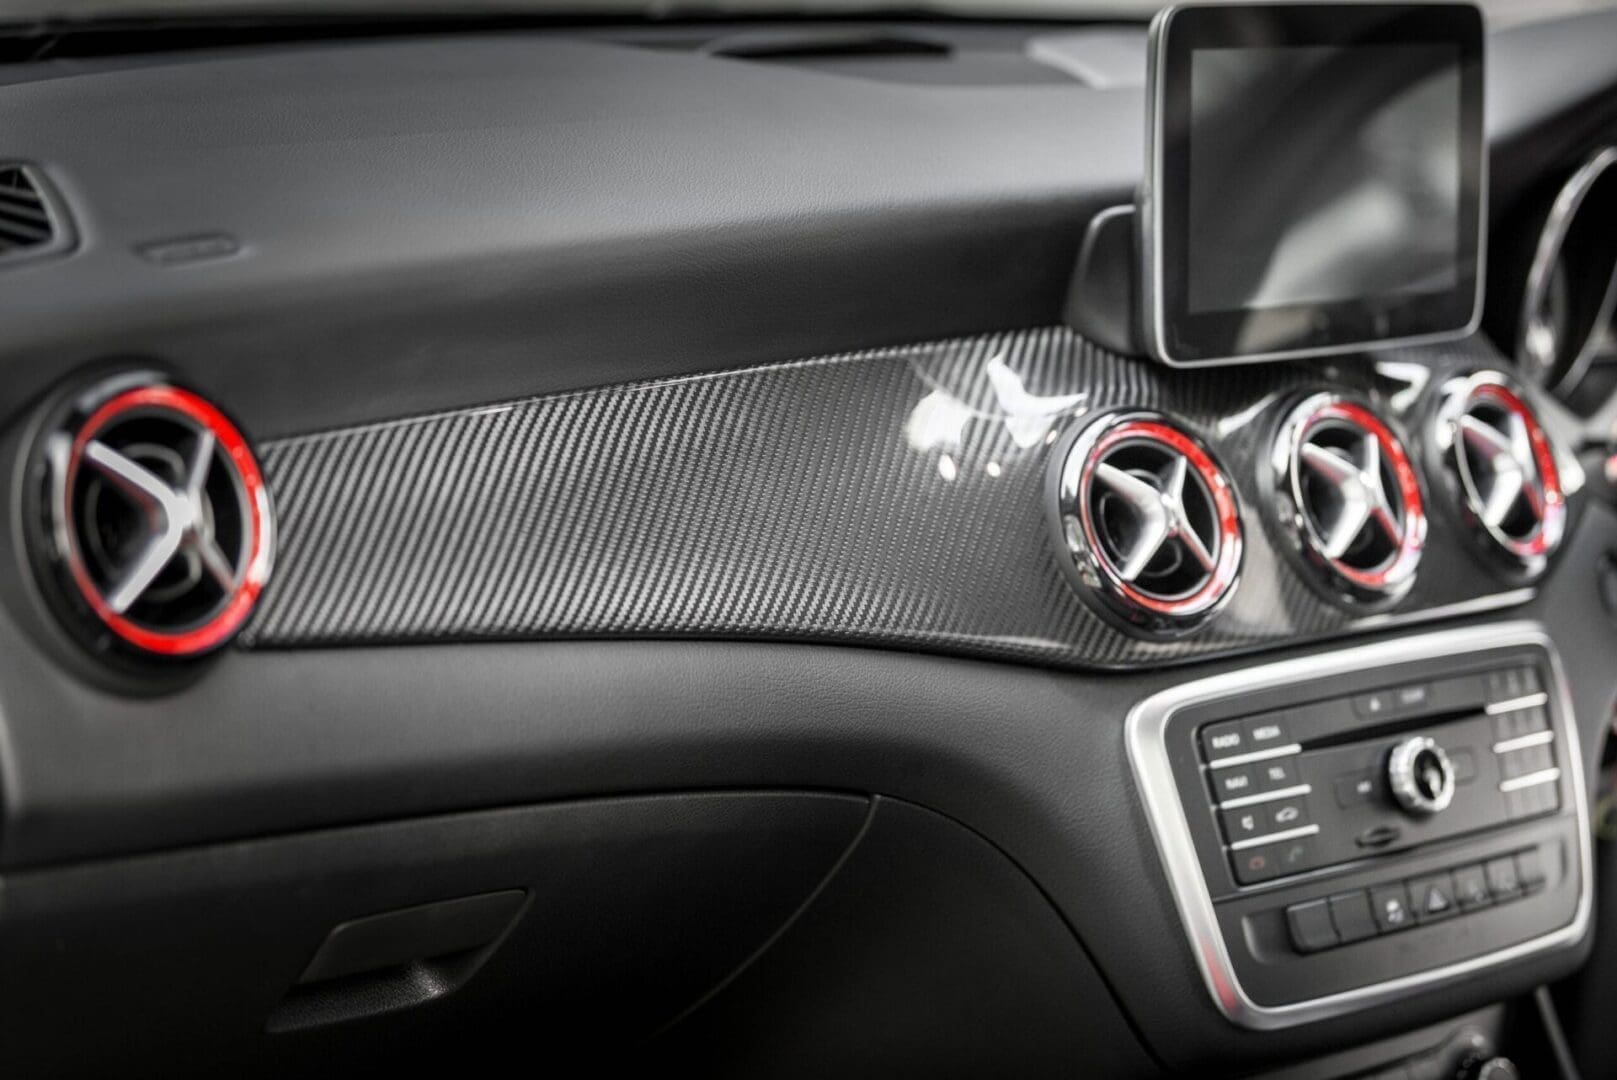
So you have just purchased a carbon fibre or wood dash kit. Now its time to add this bad boy to your ride and make it look good. Something as simple as a carbon fibre dash can make all the difference in the world to how you and others perceive your interior.
The first thing you need to do is open the box and take stock. Most manufacturers have a diagram that you can get off the internet or it may come with the package. This diagram will show you how many pieces you should have received, and what the general shape of them is. Some even show you where they go on the dashboard, doors and gear lever. Check the diagram against each part in the pack to make sure you have the right number and shape.
Now that you have all the pieces, you will want to prepare them for use.
Take the pieces out of the box and lay them out. If it’s a hot summer’s day, here’s a trick: lay the pieces across the bonnet. The heat from the bonnet will heat the adhesive side, while the heat from the sun directly on the clear will heat the top of the piece. The pieces need to be heated to a minimum of 80 degrees and no more than about 110 degrees, so be careful. I applied a kit in winter and the plastic curled because it was not heated to the correct temperature. If you have to, use a heat gun to heat up the parts. You will probably need to do this again if you are applying large pieces to contoured dash areas. I had to do this with every application. The pieces will be very soft and pliable when heated properly.
Take each piece in turn and place it against the area where you want it to be attached. Difficult, eh? The whole point of this part is to make sure that each piece is cut correctly. One kit I installed had a hole for the light dimmer switch that was too far to the right, but we managed to make it work anyway, just not a perfect fit. Once you have checked each piece, make sure you put it back to heat up. If you do not reheat the pieces, they will harden. Keep them soft!
Every kit should come with alcohol pads or some kind of cleaning chemical. This will be used to wipe down the areas where the pieces will be applied. This step is very important! If you do not clean the area, dirt will stick to the glue on each piece, causing it to lose its stickiness. That’s not good!
Now, take those alcohol pads and gently wipe down the vinyl / ABS plastic / or whatever the pieces are being applied to. You have to be quick or the pads will dry out. Windex works just as well, but don’t tell the companies. Got it nice and clean? Time for the next step!
Well, this is sometimes the most difficult step. There is a 3M adhesive strip on the back of each piece. The red film peels off to reveal the adhesive. The tricky part is getting the film away from the adhesive. The adhesive is actually double-sided tape and will peel off the pieces if you are not careful. Better-made kits have the whole piece covered with adhesive, but some come with small strips in key places. If you have the option, get the full adhesive. Be careful not to put the sticky sides down, they will not come back up easily and will get dirty.
Slowly place each piece on to its proper location on the dash. Only thing I can really say is be careful and go-slow. If you don’t get it all on properly, don’t stress, a heat gun and some super glue will fix it all up later.
Sometime there will be an area where the plastic began to cool and the adhesive is lost. The contoured areas will make it even more difficult during the installs with this problem. The fix for this is to take your heat gun and reheat the plastic until it is soft to the touch again. Be careful, you will burn yourself if you touch bare skin directly to the piece (Don’t ask how… I just know). While it is soft, apply a small amount of super glue to the rear of the piece and quickly press down. The glue will adhere the dash to the piece and the piece will cool and take the shape of the dash. And there you go, all fixed and all done. Enjoy!
Slowly place each piece in its place on the dashboard. The only thing I can really say is be careful and go slow. If you don’t get it all on properly, don’t worry, a heat gun and some superglue will fix it all later.
Eventually there will be an area where the plastic has started to cool and the glue will be lost. The contoured areas will make it even more difficult to install with this problem. The solution is to take your heat gun and reheat the plastic until it is soft again. Be careful, you will burn yourself if you touch bare skin directly to the piece (don’t ask how… I just know). While it is still soft, apply a small amount of superglue to the back of the piece and press down quickly. The glue will bond the dash to the piece, and the piece will cool and take the shape of the dash. And there you go, all fixed and done.
Enjoy!
