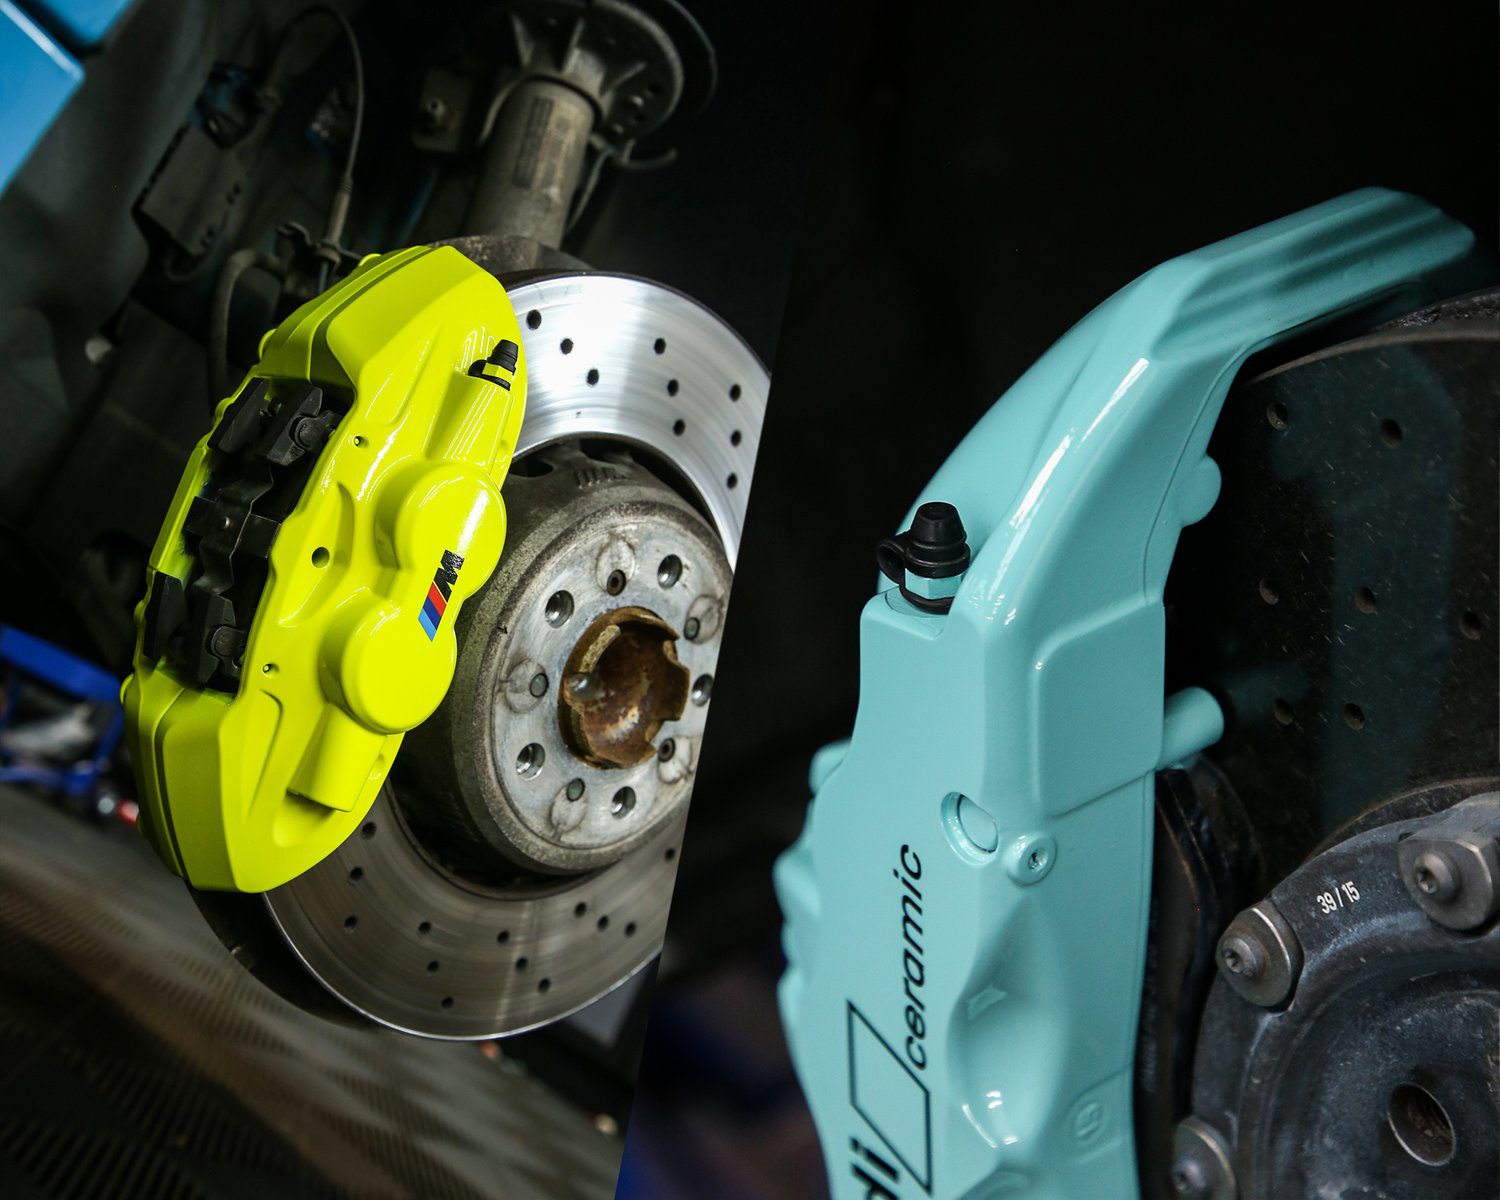
In this article you will learn how to spray your own brake calipers. These instructions will generally be the same for any car, as you don’t need to disassemble anything apart from removing the wheels. If you have a newer car, you probably won’t have to clean your brakes very much, but if you have an older car (like mine), the whole process may take longer than you think. I spent about 30 minutes per caliper scraping off the rust/brakedust before painting them. If you’ve got a new car, all you need to do is prep, paint and let dry.
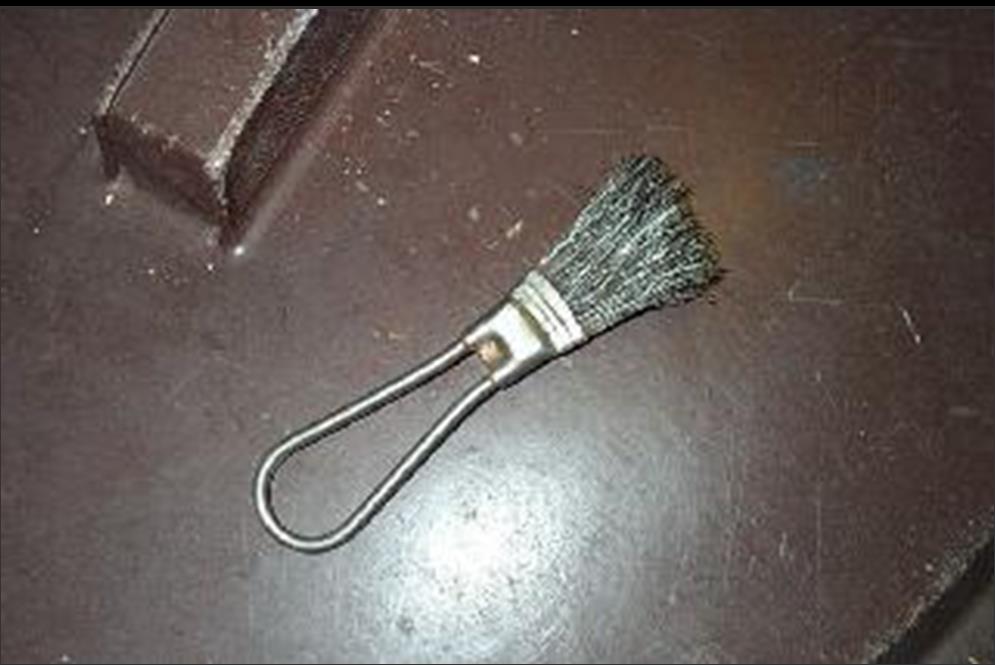
This is the wire brush you need if you have an older car. The brush pictured under “Tools You Will Need” didn’t work for me, so I went out and bought this brush, which worked very well.
Tools you will need:
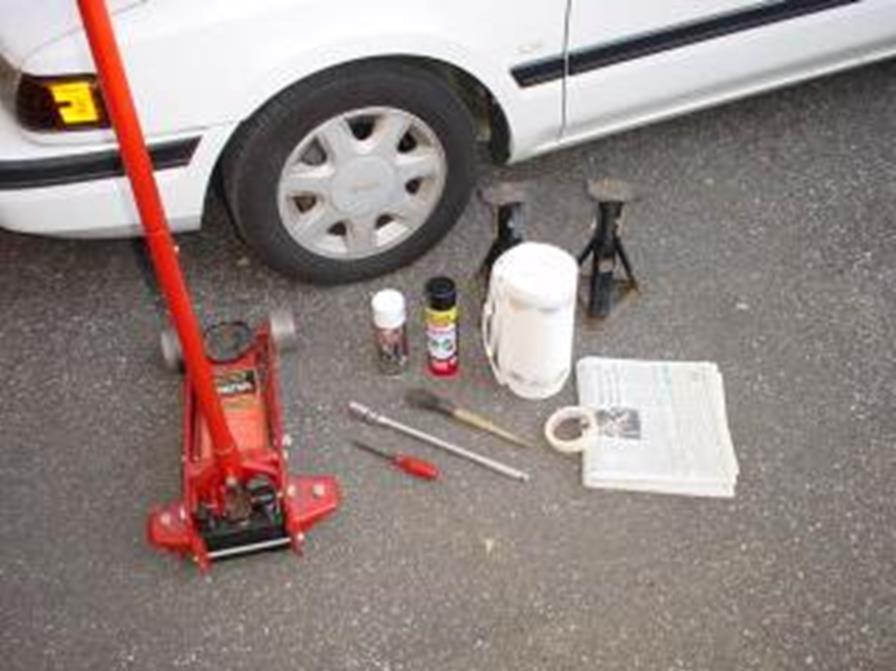
- Floor jacks & jack stands
- 21mm socket and breaker bar
- Prying tool (only if you have hubcaps/centre caps)
- Roll of masking tape
- 2 weekday newspapers or 1 Sunday newspaper
- Wire brush (for cleaning brakes)
- Tin of brake cleaner
- Can of caliper or engine 1500 degree spray paint (500 degree may come off over time)
- Hammer (not shown)
Installation Instructions
1: Park your vehicle in a well ventilated area. Using a 21mm wrench, loosen the lug nuts on all 4 wheels. Jack up the car and place it securely on the jack stand. Remove the lug nuts and then remove the wheel. You can do two wheels at a time, but I used 4 jacks and did them all at the same time.
2: Check your brake calliper for dirt or rust (note how dirty my calliper is 🙁 )
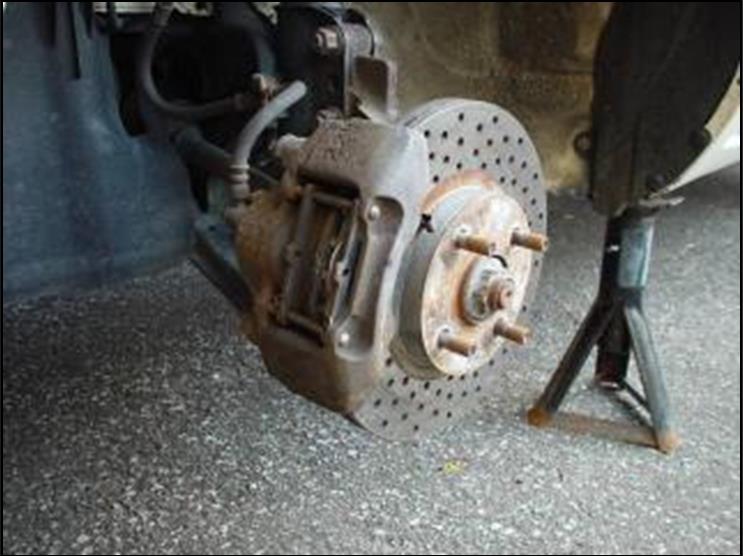
3: Spray the brake cleaner all over the caliper (it should dry very quickly). Then start brushing the rust and brake dust off the caliper. This may take some time. After about 20 minutes of brushing, I could still see stuff coming off. It is up to you when to stop. To get the rust off, you may want to take a hammer and gently tap the rust off. When the rust comes off, you’ll see it turn black. Use the wire brush to scrape them off.
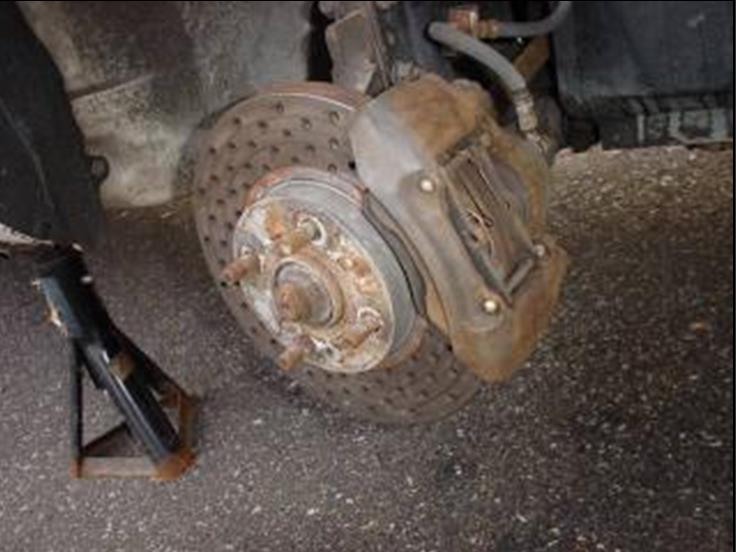
4: Use the newspaper to cover the roto and hub and use the masking tape to hold the newspaper together (so the wind doesn’t blow it away while it dries). Also cover the cross member with newspaper and tape some newspaper around the inside of the wheel well to protect it from overspray.
Use the masking tape to cover the various rubber fittings/brake lines on your caliper, your bleeder valve, the rotor, the piston and the bolts (if you don’t want to paint them). I used masking tape to cover the back plates of the brake pads. If you do this, MAKE SURE the tape is there. All 4 of my back plates are now painted with weird designs because my tape didn’t hold the paint very well. I will probably just brush the paint over them later.
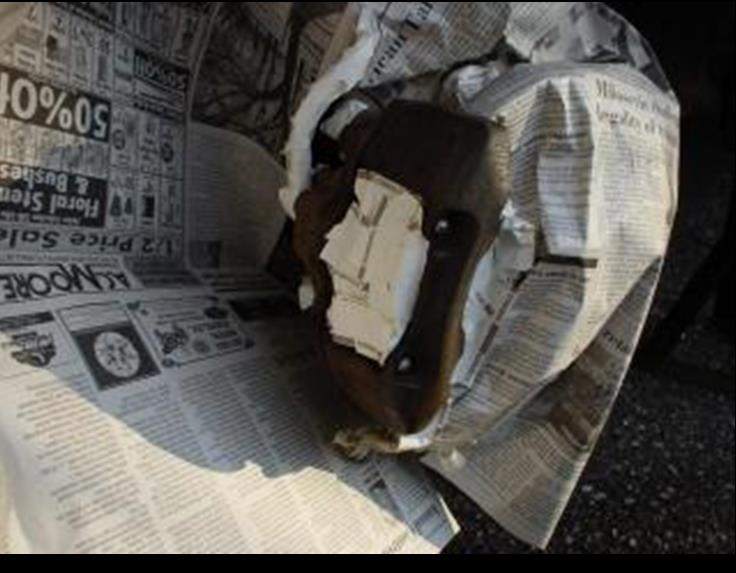
5: Shake the can of caliper paint and quickly spray the caliper up and down. Repeat until it is covered in paint, but be sure to do this in quick strokes rather than slow ones, otherwise the paint will run and drip.
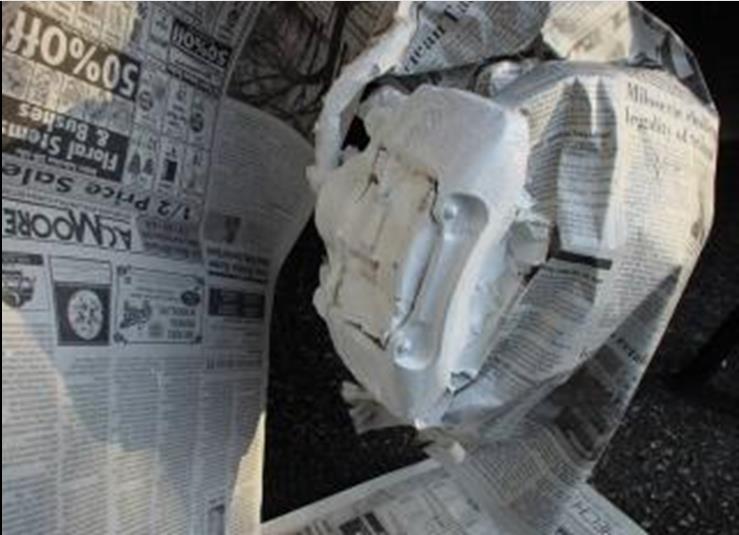
6: Let it dry a bit. I did a total of 3 coats on each caliper (and the metal still shows through 🙁 ).
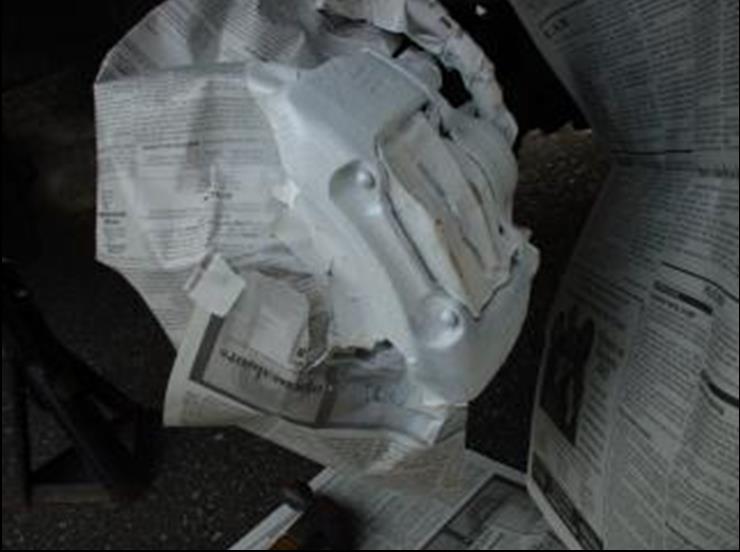
7: While waiting for the front two to dry, go to the rear and check the calipers for dirt.
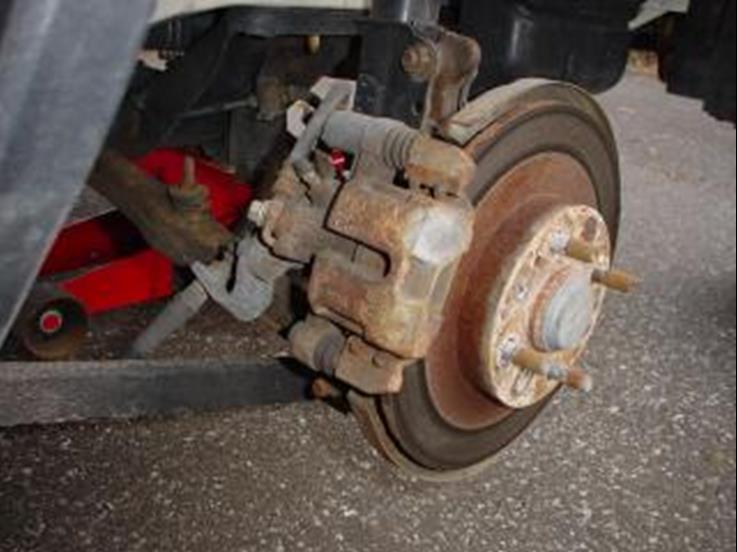
8: Use the wire brush and brake cleaner to remove all the bloody brake dust and rust from the caliper. It took me about twice as long to clean the rears than the fronts due to their odd shape and various crevices.
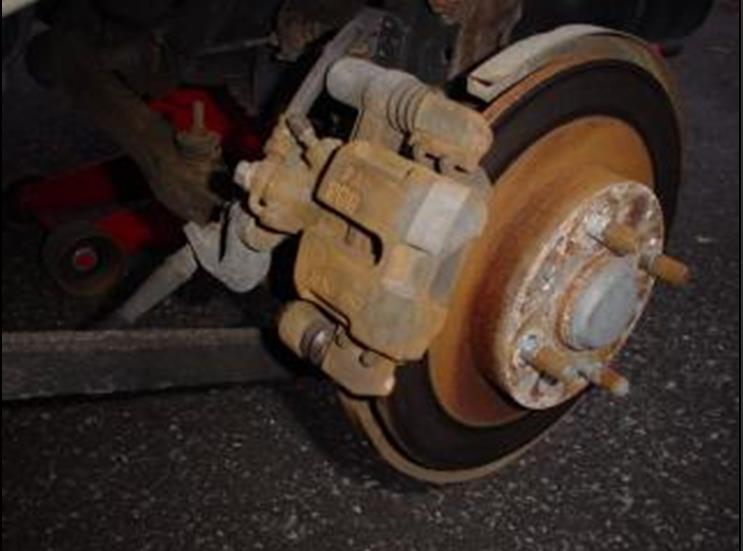
9: Cover the rear in the same way as the front. Be sure to cover the piston and rotor from paint as brake performance may be affected if overspray gets in there. Make sure you cover the TTL and cross members. I didn’t, thinking the paint wouldn’t touch them, and ended up getting paint all over one of the cross members 🙁
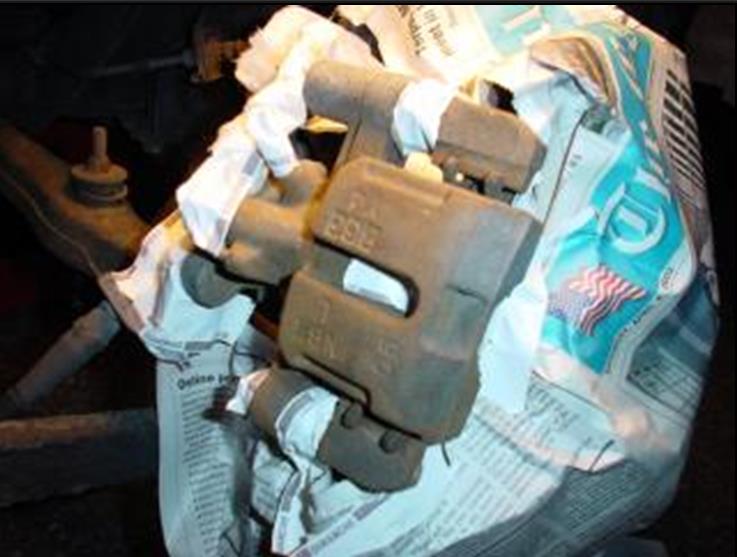
10: Paint the rears as described in step 5.
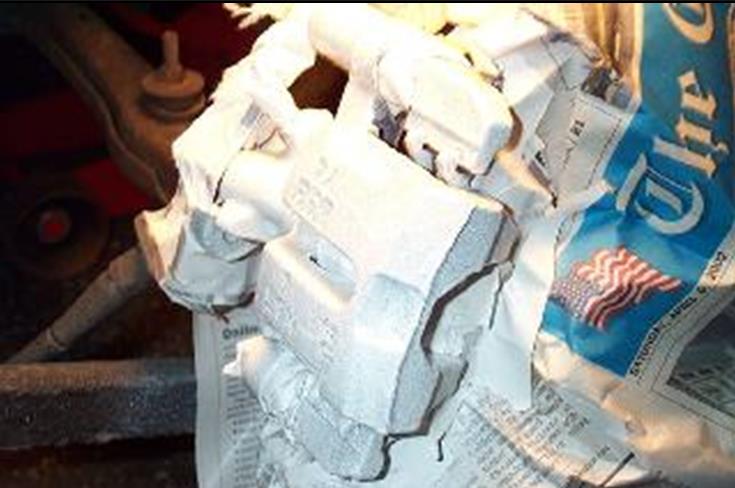
11: Apply a few more thin coats and allow each coat to dry for 15-30 minutes.
12: When all the calipers are dry, carefully remove all the newspaper and masking tape to reveal the finished result (note that the paint has got onto the back plate of the brake pads and also onto some other parts :().
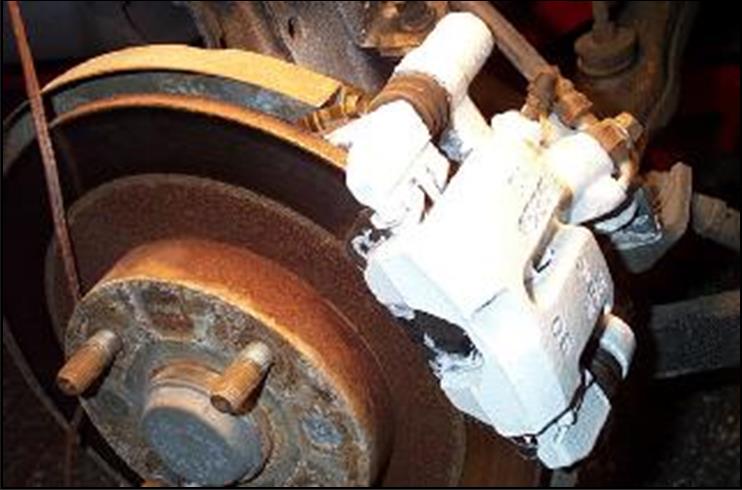
- Replace the wheels, tighten the lugs to the correct torque and lower the vehicle to the ground.
14: Dispose of all newspapers and masking tape properly in the rubbish bin.
15: Final results (front)
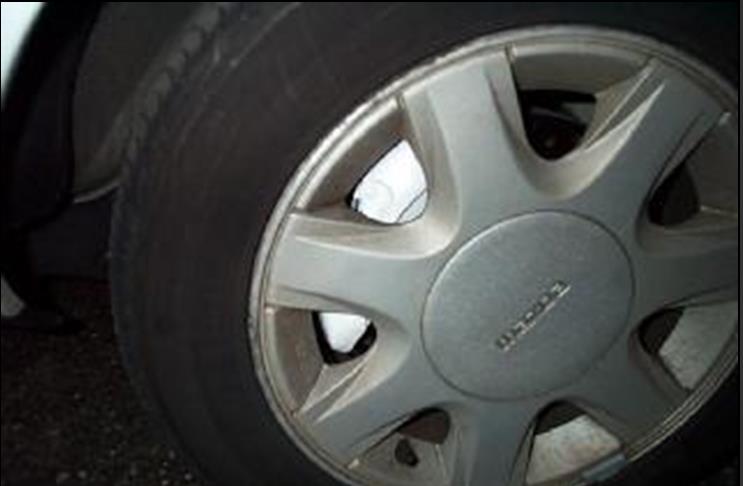
16: Final results (rear driver’s side)
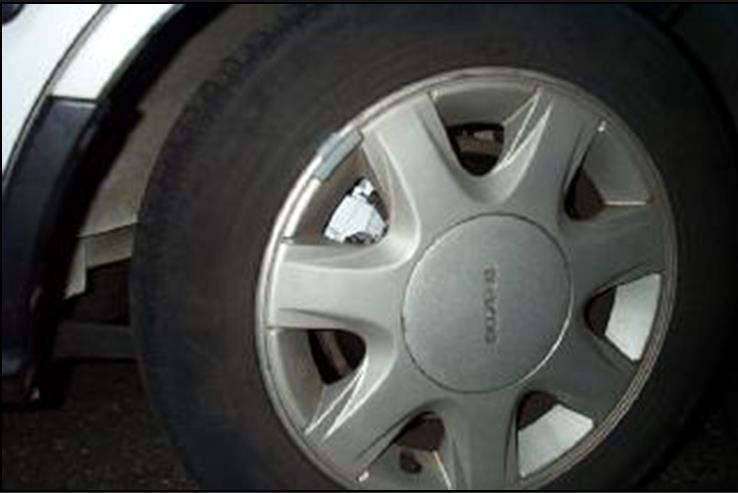
17: Final results (rear passenger side)
